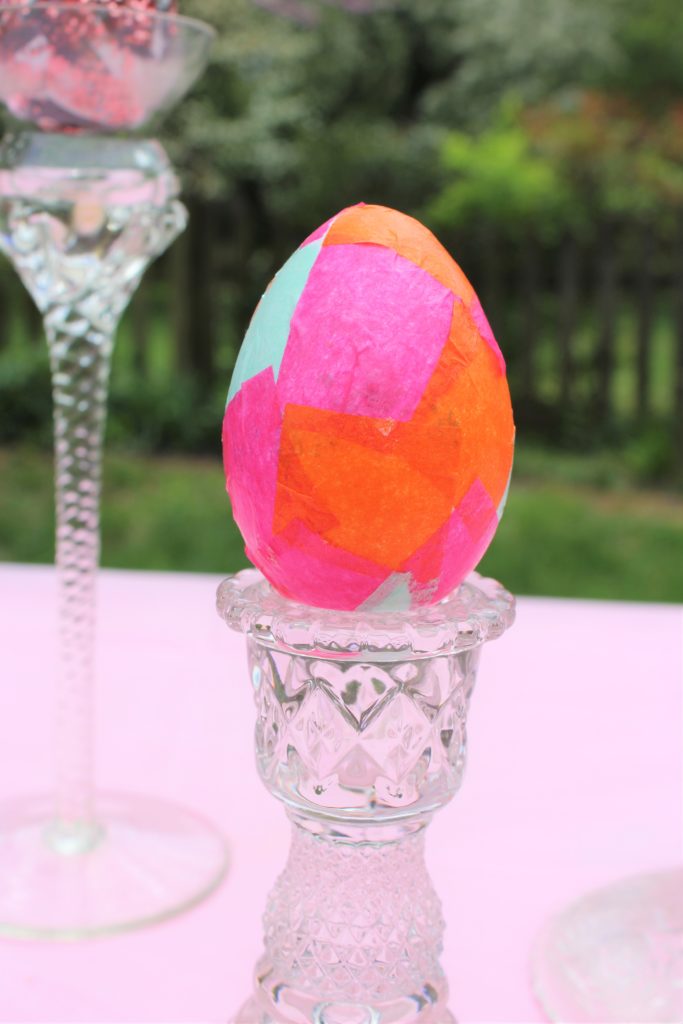
Easter egg decorating is something we look forward to every year. We wanted to try something other than dye and what better way than decoupage!?

I like to use the fake eggs so we can keep our creations and look back at them every year. We picked these up at Walmart for just a few dollars. They don’t work great with the regular dye methods, but for this project they are perfect!
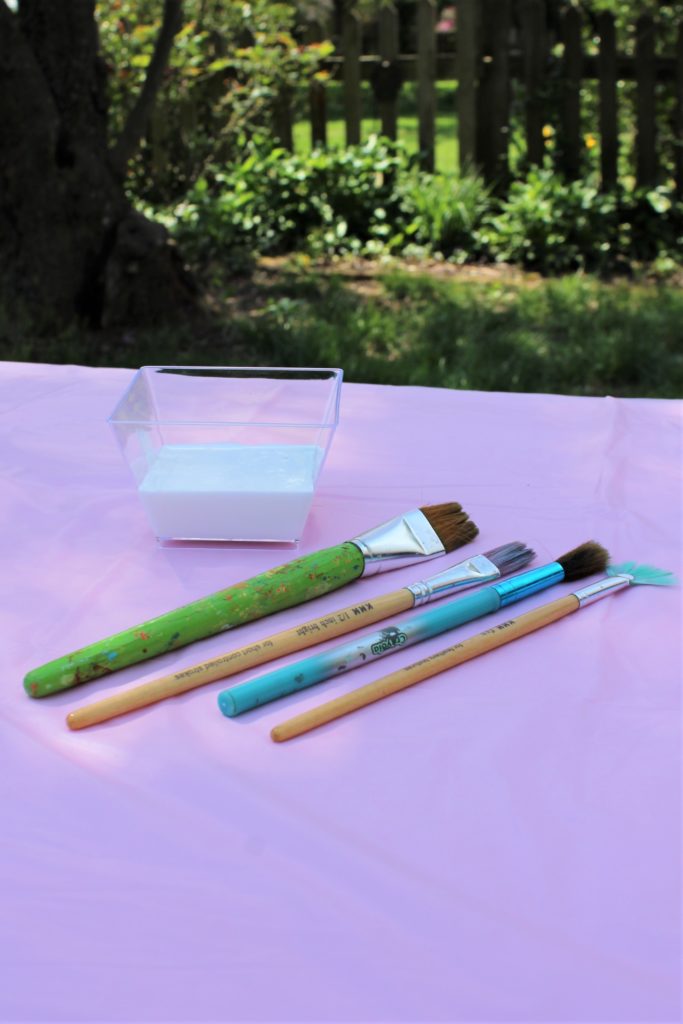
Next, you’ll need some Mod Podge and somewhat wide brushes to help in covering the entire egg quickly.
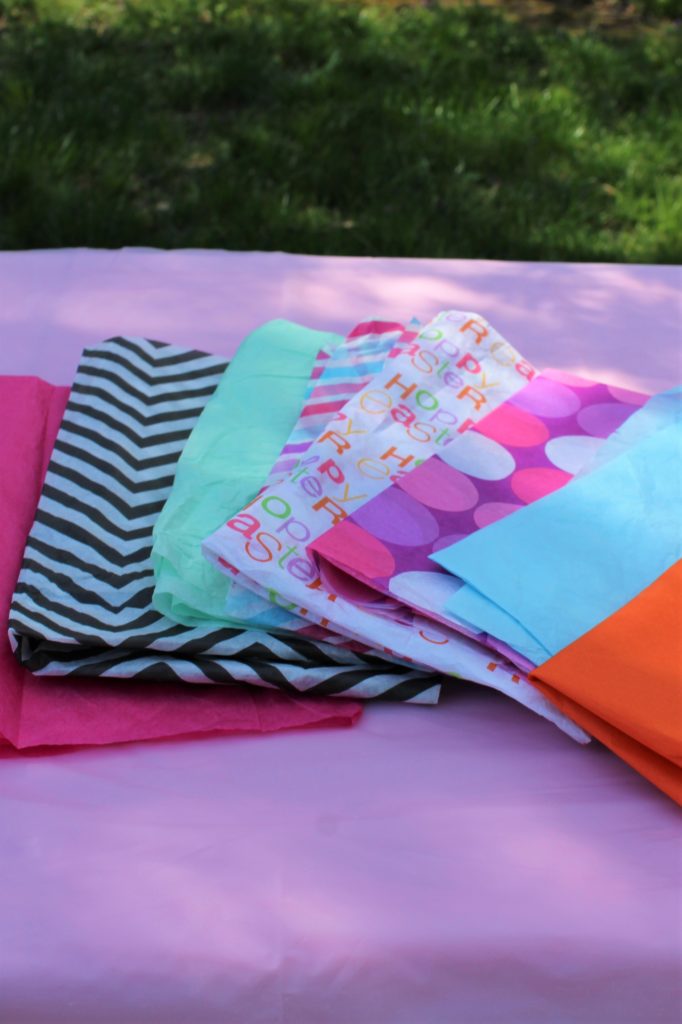
Pick a variety of tissue paper colors. We chose traditional spring colors and the black and white for a fun geometrical and modern look.
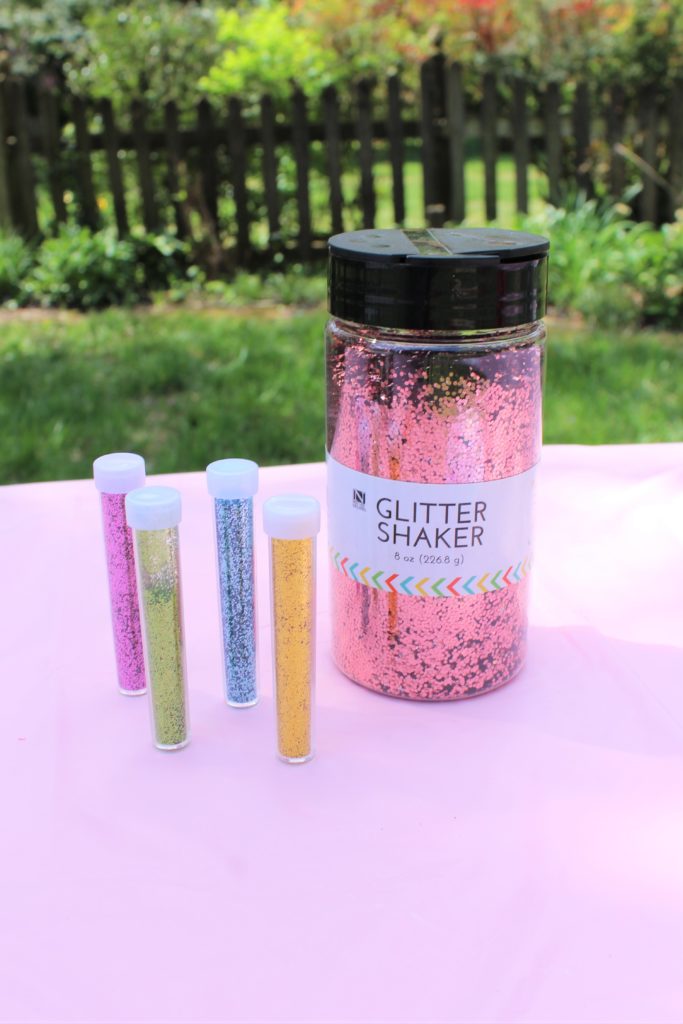
Glitter is a must for any project! We thought it would be fancy to add glitter to our decoupage eggs!

Cut the tissue paper into small pieces. You can do strips to make stripes on your egg or small squares to make a patchwork egg. Apply Mod Podge all over the egg. You may have to go back over sections if it dries before you get to it.

Arrange the tissue paper as you like. Go back over the entire egg with the Mod Podge. Set it on a clean surface to dry.
I love how they turned out! Every egg is different and full of color! I especially love how the word Easter shows up so clearly and the glitter adds a bit of sparkle.

This was such a fun way to decorate eggs. It allows you to create a ton of different looks with bold colors. Happy egg decorating!
